Before you update WordPress, make a fresh copy of your site’s files and database. Then restore that exact copy to a separate, private test site. You’ll know the backup is usable when you can sign in, open recent pages and media, and complete the tasks your customers rely on.
Say you run a repair business and plan to update your booking plugin. A backup marked “complete” tells you the backup job finished. A test restore tells you whether the booking page, its settings, and recent appointments stored on your site can actually come back.
1. Save a fresh copy of the files and database
Open your hosting dashboard and look for an on-demand backup or restore point. If you use a backup plugin, run a full backup and check that the job includes both parts.
- Files include WordPress itself, plugins, themes, uploaded images and documents, and configuration files such as wp-config.php. Check whether the backup excludes any custom files your site needs.
- The database holds posts, pages, users, settings, and records that your plugins save there. A media download or the standard WordPress content export cannot recover the whole site on its own.
Record the date and time and label the backup “Before update” with the update name. If your host allows downloads, keep a copy in a private location you can reach if the hosting account is unavailable. For a manual backup, use your host’s file and database export tools and save the two exports together. WordPress backup guidance explains what each part contains.
For the broader maintenance routine, see 5 Key Benefits of WordPress Maintenance and Support.
Know which point in time you can recover
Check when the last backup ran and compare that time with the activity you can see in WordPress. If your backup ran overnight and a customer booked an appointment this morning, the overnight copy won’t contain that booking. Take the backup close to the update and note where records created after that point will be stored or exported if you need to roll back.
If your host and backup plugin both create copies, record which tool made the copy you’ll test. Each may package the site differently. Make sure the person doing the update can open the backup and has access to the restore tool, storage account, and any decryption key they’ll need.
2. Restore that backup to a private test site
Use a disposable staging site or another isolated test environment with its own database. Make sure it requires a login or is otherwise access restricted. Disable live email, payments, and external automations in the test environment before exercising any feature that could contact a customer or charge a card.
In your host’s or plugin’s restore tool, select the backup you just made and confirm the destination is the test site. A fresh clone made directly from production can help you test an update, but it doesn’t tell you whether the saved backup can be restored. If your host only offers restoration to the live site, ask whether it can restore a copy to a separate environment.
If you’re restoring manually, copy the saved files to the test location, import the database into a new test database, and point the test copy of wp-config.php to that database. Use a WordPress-aware migration tool if the site address changes so stored links and settings continue to work. See the WordPress guide to restoring a database and the WordPress hosting guide to staging.
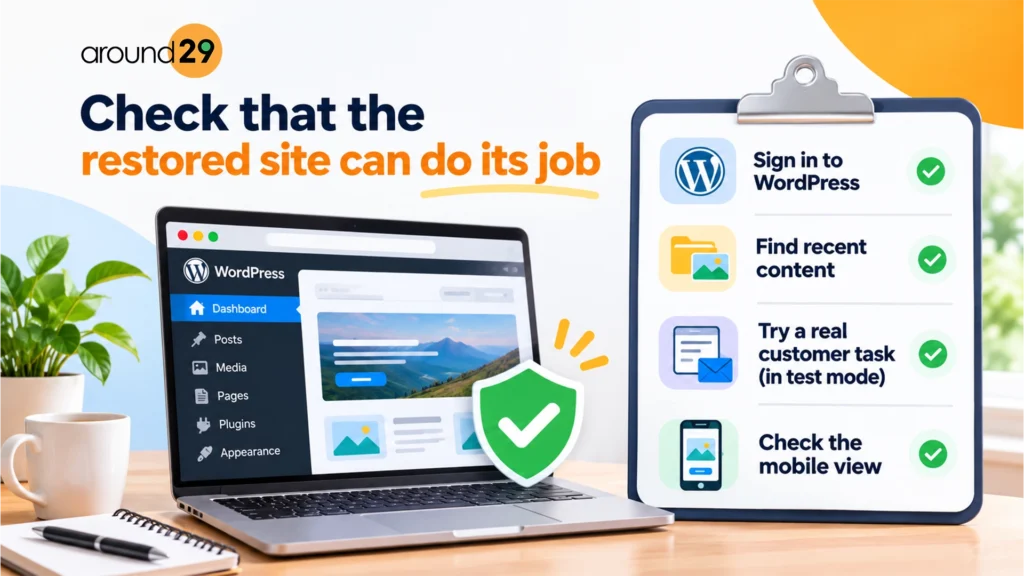
3. Check that the restored site can do its job
Start with a private browser window so a signed-in session or an old cached page doesn’t hide a problem. Walk through the pages and tasks you would miss most if the live site went down.
- Sign in to WordPress. Open the dashboard and check that the expected theme and critical plugins are present.
- Find recent content. Open a page or post you changed before the backup and a recent upload. Check that they match the backup timestamp and that images and downloads open.
- Try a real customer task in test mode. Submit a sample inquiry and look for it in a test inbox or the form’s entry log, depending on your setup. For a booking or store, use a sandbox and confirm the test record appears where staff would look for it.
- Check the mobile view. Open a key page on a phone, follow the main call to action, and make sure links stay on the test domain. A link that sends you to the live site can make a broken restore look healthy.
If a check fails, pause the update. For example, if pages open but uploaded photos are missing, confirm that the backup included the uploads directory or any separate media storage. Fix the backup setup, make a fresh copy, and test that copy again.
Record what the restore test proved
Start a timer when you begin the restore and stop it when the site passes the checks your business depends on. The upload or import may finish before you’re ready to take inquiries again. Record that total time so you can plan an update window based on your own site.
A short restore log can say which copy you used, where you restored it, and which checks passed. For a booking site, that could mean the admin login worked, the recent appointments stored in WordPress were present, and a new test booking appeared in the staff view. If anything had to be fixed, write down the fix so the next person can repeat it.
4. Update the test copy before updating the live site
Once the restore passes, apply the planned update on the test copy and repeat the same checks. If it passes there, choose a suitable time to update production and repeat the essential checks on the live site. Take a fresh production backup if anything changed during testing.
Before you update the live site, decide what would trigger a rollback. For example, a broken booking form may need an immediate fix. Before restoring an older database, check for orders, bookings, or form submissions received since the backup. Restoring it can overwrite those records, so have your host or developer help preserve them first.
Before you close out the update, open the live site as a visitor and submit one clearly labeled test inquiry. Ask the person who handles leads to confirm it arrived. Save the pre-update copy and the restore notes somewhere the team can find them, then remove the temporary test environment according to your host’s process.
If you’d like help setting up a private restore test and a repeatable update process, see our web development services.